Views: 0 Author: Site Editor Publish Time: 2026-06-29 Origin: Site
The primary appeal of modular construction is rapid deployment, but the physical reality of on-site installation dictates the actual timeline, safety, and longevity of the structure. Miscalculating site preparation, underestimating heavy machinery requirements, or executing an improper unfolding sequence frequently leads to structural misalignment, weatherproofing failures, and budget overruns. This guide provides a technical, phase-by-phase breakdown of the installation process—from foundation pouring to final utility connections. We offer a realistic framework for evaluating project feasibility and total deployment costs. Setting up a folding container house requires strict adherence to mechanical sequences and load-bearing principles. You will learn exactly how to prepare the ground, rig the crane, and seal the joints to ensure the building remains watertight and structurally sound for decades.
Site Prep is Non-Negotiable: A perfectly level foundation (pier, slab, or strip) is mandatory; even a slight grade deviation will prevent the folding mechanisms from locking correctly.
Heavy Machinery is Required: Unloading and positioning require specific crane tonnage or heavy-duty forklifts based on the unit's dry weight and site access.
Internal Cargo Must Be Cleared First: Many manufacturers pack heavy structural components or interior fixtures inside the folded unit; these must be safely extracted before lifting.
Sequence Dictates Structural Integrity: The unfolding process must follow strict manufacturer guidelines to prevent hinge damage and ensure load-bearing walls align properly.
Total Cost Visibility: The baseline folding container house price is only a fraction of the total project; buyers must account for site prep, machinery rental, and local utility connection fees.
Establishing a stable, level base is the absolute foundation of a successful modular build. The foundation must support the specific point-loads of a steel-framed structure while facilitating proper drainage away from the steel chassis. If the ground is uneven by even a fraction of an inch, the heavy steel hinges will bind during the unfolding process. This makes assembly nearly impossible and permanently compromises the structural integrity of the weather seals.
Before pouring concrete or setting steel piers, you must evaluate the soil bearing capacity. Soft clay or uncompacted fill dirt will settle under the weight of the steel structure, leading to warped floors and jammed doors months after installation. You must dig below the local frost line to prevent seasonal ground heaving from shifting the footings. Grading requirements for water runoff are equally important; the ground should slope away from the foundation at a minimum drop of six inches over the first ten feet to ensure adequate drainage pathways.
Access road and clearance planning requires walking the actual route the delivery truck will take. You must ensure overhead clearance for power lines and tree branches, as well as adequate turning radius for 40-foot flatbed trucks. In remote, mountain, or restricted residential plots, you may need to arrange for a smaller shuttle truck to move the unit from a staging area to the final site.
Different sites require different foundation approaches based on soil type, budget, and local building codes. The choice directly impacts the long-term stability of the building.
Foundation Type | Best Use Case | Installation Considerations |
|---|---|---|
Pier Foundations | Uneven terrain, sloped lots, temporary setups. | Requires precise point-load alignment to match the corner castings. Highly cost-effective. |
Concrete Slab | Permanent residential builds, flat terrain. | Provides maximum stability and ground insulation. Requires extensive formwork and curing time. |
Strip/Trench Footings | Moderate climates, perimeter support needs. | Offers a balanced approach, providing solid perimeter support while allowing under-floor access for utilities. |
Mapping and trenching for water, sewer, and electrical lines must happen before the delivery truck arrives. Aligning site utilities with the specific connection ports designed by your container house factory prevents costly rework and concrete cutting later. Ensure all PVC rough-ins are capped, taped off, and clearly marked with high-visibility paint to avoid damage during the heavy lifting phase. Electrical conduit should be run to the exact location of the external breaker panel.
Determining the logistical feasibility of getting a heavy, flat-packed unit from a flatbed truck to the final foundation requires careful planning. You must evaluate the site layout to ensure heavy machinery has the necessary operating radius, solid ground to deploy outriggers, and clear line of sight for the operator.
Calculating required crane capacity depends on two factors: the unit's dry weight and the boom reach. The boom reach is the horizontal distance from the center of the crane's rotation to the center of the foundation. Attempting to use an undersized crane is a severe safety hazard that can result in tipping. For smaller units, heavy-duty rough-terrain forklifts serve as alternatives, but you must strictly verify tonnage requirements and terrain limitations. Standard warehouse forklifts will sink immediately in dirt or gravel.
Safety during the lift relies on strict adherence to rigging standards. Never wrap chains directly around the chassis or roof panels.
Identify the factory-designated lifting points, which are typically the ISO corner castings.
Attach heavy-duty lifting shackles to all four corner castings securely.
Deploy a steel spreader bar system to ensure the lifting cables drop vertically to the corners.
Apply tension slowly to the cables to check the center of gravity before lifting the unit off the truck bed.
Lowering the folded unit onto the foundation requires millimeter precision. Ground crews must use taglines to guide the structure slowly onto the anchor bolts or pier plates. Verifying levelness across all axes with a laser level before removing the rigging is essential. If the unit is not perfectly level, the crane must hold the weight while the crew adjusts the steel shims or foundation plates.
Manufacturers often utilize the empty space inside the collapsed shell to ship loose components. Systematically identify and remove all pre-packed items stored inside before starting structural expansion. Items like bathroom fixtures, localized flooring rolls, kitchen cabinets, and loose partition panels add dead weight and can physically obstruct the internal folding mechanisms. Clear the interior completely to ensure a safe, unobstructed unfolding sequence.
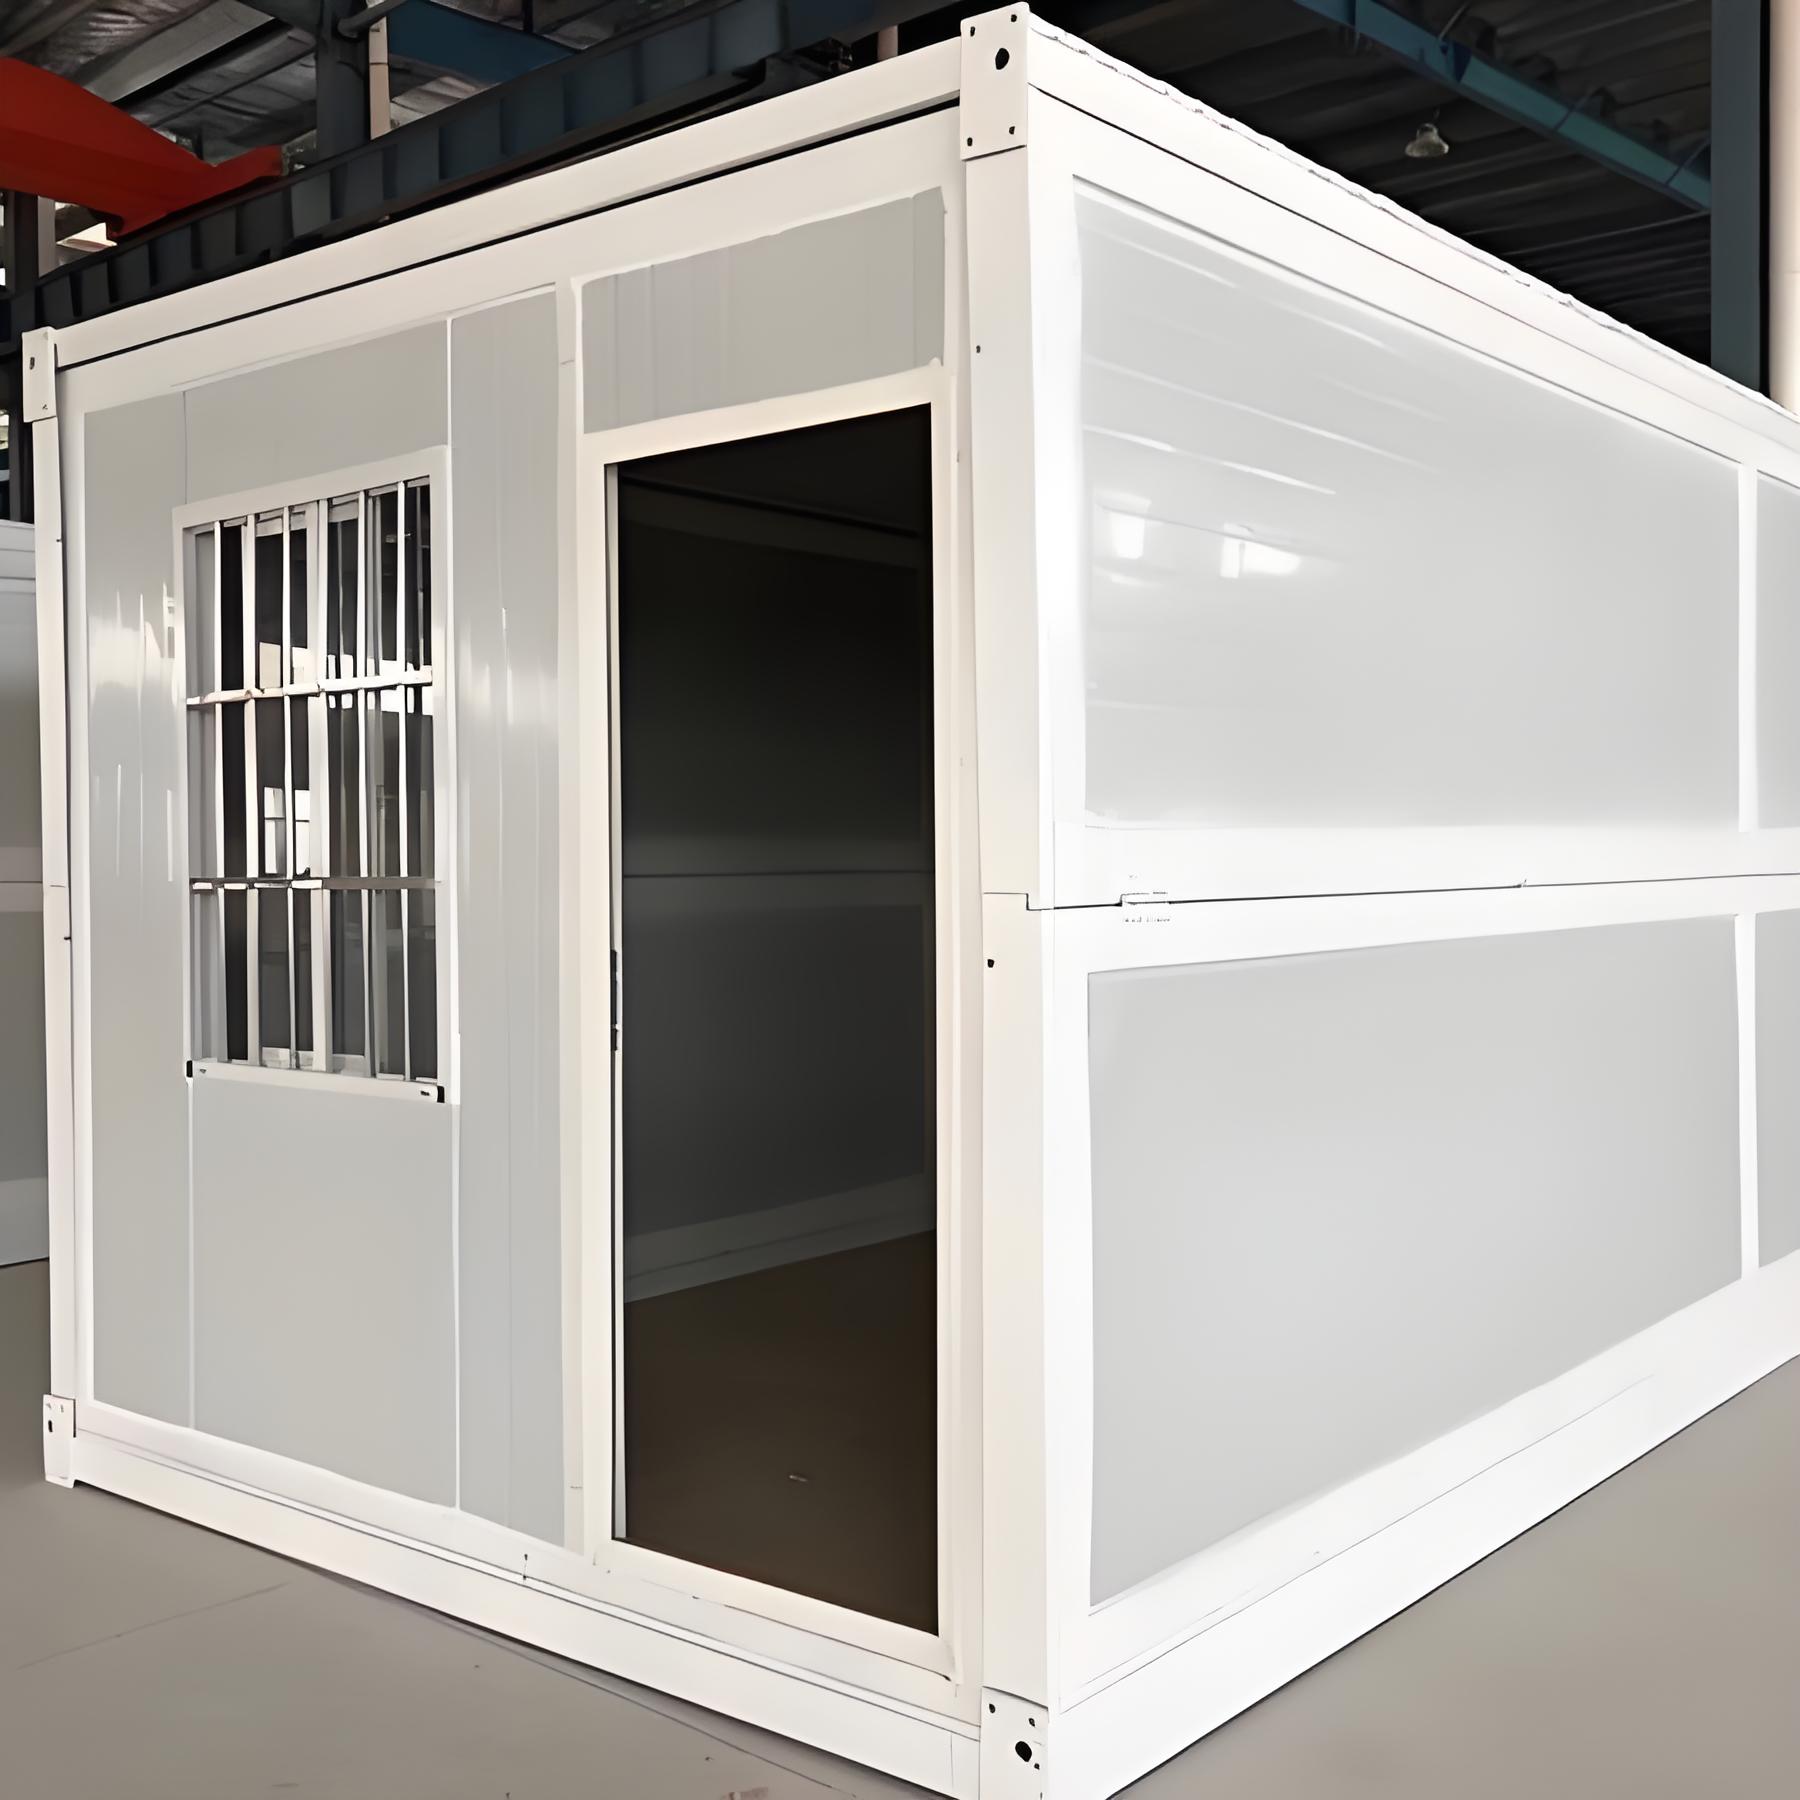
The exact mechanical sequence required to transition the unit from a shipping footprint to a fully expanded livable space dictates the success of the installation. Following the manufacturer's manual for a 20FT and 40FT Standard Prefab Expandable Folding Shipping Container House ensures hinges do not warp, panels align correctly, and weather seals remain intact.
Begin by detaching all safety shipping brackets, outer locking pins, and side-fixing transport panels. These are temporary steel plates bolted across the seams to prevent movement during ocean and highway transit. Inspect the heavy-duty hinges, rubber gaskets, and structural frames for any transit damage. Any bent components or torn seals must be addressed before applying lifting force to the roof.
Depending on the specific model, use manual jacks, a crane, or integrated hydraulic systems to lift the central roof section. The roof is heavy, and the lift must be perfectly synchronized to avoid twisting the frame. Securing temporary steel support struts immediately after elevation is critical to ensure worker safety while the side panels are deployed. Never allow workers under an unsupported roof.
Lift and temporarily support the primary side roof panels. This clears the path for the wall deployment. Ensure the lifting cables or manual props do not pinch or tear the rubber weather seals during this upward motion. The side roofs usually lock into temporary catches while the floors are lowered.
Fold down the expandable floor sections on both sides. Ensure they rest completely flush on the foundation supports or adjustable leveling feet. Verifying floor horizontal alignment with a digital level guarantees the subsequent wall panels will stand perfectly plumb. If the floor sags, the walls will not lock into the roof track.
Push out the side walls, which usually contain the pre-installed windows and doors, to meet the expanded floor and roof tracks. Next, swing the front and rear end-walls into place to enclose the expanded sections. Apply steady, even pressure to avoid jarring the tracks or shattering the window glass. The walls should slot into the floor channels smoothly.
Engage the primary internal locking mechanisms, safety pins, and structural bolts at all corner seams. Do not force bolts into misaligned holes with a hammer; if resistance occurs, re-check the floor level and adjust the foundation shims accordingly. Torque all structural bolts to the manufacturer's specified foot-pounds.
Addressing the highest risk factor in folding homes—water ingress at the folding joints and seams—requires meticulous attention to detail. Proper sealing transforms a temporary shelter into a durable, long-term structure capable of withstanding severe weather.
Verify the diagonal dimensions of the expanded rooms to ensure the house is perfectly square. Checking door and window tolerances prevents sticking or structural binding before permanent sealing. If a door rubs against its frame or a window fails to latch, the foundation likely requires minor shimming to correct a slight twist in the chassis.
Apply industrial-grade polyurethane sealants and closed-cell expanding foam to all exterior hinges and folding gaps. Install the factory-provided metal flashing, capping, and cosmetic trim over the roof seams to prevent water pooling and leaks. Do not skip the roof capping installation; it is the primary defense against heavy rainfall and snowmelt. Apply butyl tape under all roof flashing for a secondary waterproof barrier.
Install the internal partition walls and secure them to the pre-marked floor and ceiling tracks. Verify that all structural pins and bolts are torqued correctly. This step adds significant rigidity to the overall frame, preventing structural sway during high winds and stabilizing the roof load.
Finalizing the structure involves integrating it with local municipal or off-grid utilities. For electrical systems, connect the factory-wired breaker panel to the external power grid or solar inverter. This step requires a licensed electrician to ensure local code compliance and proper grounding. For plumbing, marry the internal PVC drain lines and PEX supply lines to the pre-trenched site sewer and water mains. Pressure test all water lines before closing up the access panels to check for transit-induced leaks.
Moving beyond the sticker price to calculate the total deployed cost is crucial for accurate project budgeting. The baseline folding container house price represents only the physical materials; site execution, machinery, and labor drive the final expenditure.
Expenses related to land clearing, grading, and foundation pouring vary wildly based on your specific terrain and soil conditions. Rock excavation or deep pier drilling will escalate costs quickly. Additionally, you must account for the costs of architectural site drawings, structural engineering stamps, and local building permits required by municipal zoning authorities.
Freight delivery from the port or factory to your specific site adds significant cost, especially for oversized loads requiring escort vehicles. Furthermore, hourly or daily rates for crane operators, professional riggers, and heavy machinery must be factored into the installation day budget. Delays on site, such as an unprepared foundation, will rapidly inflate these hourly rental fees.
While some buyers opt for DIY assembly to save money, hiring a specialized installation crew ensures safety, speed, and correct weatherproofing. Electrician and plumber fees for final utility hookups and compliance sign-offs are mandatory expenses that guarantee the home is legally habitable and safe for occupancy.
The source of the manufacturing directly dictates the ease of on-site assembly. High-quality engineering reduces labor hours, while poor manufacturing leads to costly delays, leaks, and structural failures.
High-quality factories utilize CNC machining and automated laser cutting to ensure heavy steel hinges and bolt holes align perfectly, drastically reducing on-site labor hours. Poor manufacturing leads to "binding" during unfolding, requiring dangerous on-site cutting, grinding, or forced adjustments that compromise the anti-corrosion coatings and void warranties.
Evaluating factories that pre-install electrical wiring, plumbing manifolds, and wall insulation versus those that require post-expansion installation is vital. Pre-installed systems drastically reduce the need for specialized tradesmen on site, accelerating the move-in timeline and lowering overall contractor costs.
The importance of comprehensive installation manuals, structural engineering reports, and compliance certificates provided by the manufacturer cannot be overstated. These documents are often required for local permitting approvals and serve as the exact blueprint for a safe, code-compliant assembly.
Finalize site topography assessments and soil tests to determine the exact foundation requirements for your specific lot.
Consult with a local structural engineer to design a foundation plan that supports the specific point loads and wind ratings of your chosen unit.
Request detailed installation manuals, lifting schematics, and warranty documentation from shortlisted manufacturers before finalizing any purchase.
Secure firm quotes from local crane operators, riggers, and utility contractors to build an accurate and comprehensive total project budget.
A: The physical unfolding process typically takes 2 to 8 hours depending on the crew's experience and the machinery used. However, the complete setup, including foundation preparation, weatherproofing, and utility connections, usually takes several days to a few weeks to finalize.
A: While some smaller, lightweight units can be managed with heavy-duty rough-terrain forklifts on perfectly flat ground, most 20ft and 40ft units require a crane. A crane ensures safe unloading, precise positioning on the foundation, and controlled roof elevation without damaging the frame.
A: Pier foundations are the most common due to their cost-effectiveness and ease of leveling on uneven terrain. However, concrete slabs offer superior permanence, better ground insulation, and even weight distribution, making them ideal for permanent residential setups.
A: They are designed to be weatherproof, but long-term water resistance relies entirely on the correct on-site application of sealants and flashing. Expanding foam, industrial polyurethane sealant, and proper roof capping must be meticulously applied during installation to prevent leaks.
A: Yes, it is mechanically possible. However, relocating requires reversing the entire sealing, bolting, and utility connection process. Removing the weatherproofing and disassembling the interior partitions makes it a labor-intensive endeavor rather than a quick move.
A: In most jurisdictions, yes. Permanent or semi-permanent dwellings connected to municipal utilities require zoning approval, foundation permits, and occupancy inspections. Always consult local building authorities before purchasing or preparing your site.